Red dot sights are rapidly becoming the choice for modern pistol shooters, thanks to their increased affordability, compact design, and ease of use. As this type of optics gains popularity, many pistol owners are looking to learn how to aim and shoot correctly with a red dot. This article will answer common questions about using red dot sights, so whether you’re new to pistol red dots or transitioning from iron sights, read on!
Understanding Red Dot Sights
First things first, let’s clear up some terminology. You’ll often see terms like “red dot sights” and “reflex sights” used interchangeably. Both terms are used to describe non-magnifying optics that use a LED to create the dot that is projected on the lens.
The difference between the two is in housing styles. Typically, optics categorized as reflex sights have “open” style housing and are more commonly used on pistols. In contrast, “tube” style sights are referred to as red dot sights and are usually mounted on rifles.
Open-style pistol reflex sights are also called micro red dot sights (MRDS).
Advantages of Having Red Dot Sights on a Pistol
Many conservative shooters argue whether red dots are worth it on pistols. So here are some advantages:
One Focal Plane
One of the key benefits of using a red dot sight is its single focal plane, allowing you to maintain constant focus on your target. Unlike traditional iron sights, which require shifting focus among different planes, the red dot keeps your attention centered on the threat. In law enforcement scenarios, this means officers can keep their eyes on the threat, reducing time spent refocusing between the target and their sights. This supports better situational awareness and potentially decreases negligent discharges.
Improved Accuracy
Red dot sights eliminate the need for precise alignment required by iron sights, simplifying the shooting process. Without having to align front and rear sights meticulously, shooters can be focused more on the target rather than the sights, leading to better accuracy and performance in general, especially under stress.
Both Eyes Open
Using a red dot sight allows you to keep both eyes open. Your dominant eye picks up the reticle while your non-dominant eye observes the broader scene. This means follow-up shots can be made quickly and accurately, as both the reticle and target remain in view without needing to focus exclusively on one.
Dot Positioning
Once sighted properly, the position of the dot in the window doesn’t need to be perfectly centered for accurate shooting. This flexibility allows you to focus on the target while still achieving precision.
Enhanced Threat Focus
The red dot sight naturally decreases the shift of attention, allowing users to maintain focus on the threat. This can help you to detect subtle changes in a subject’s behavior more quickly, improving response times in critical situations.
How to Use a Red Dot: Common Challenges
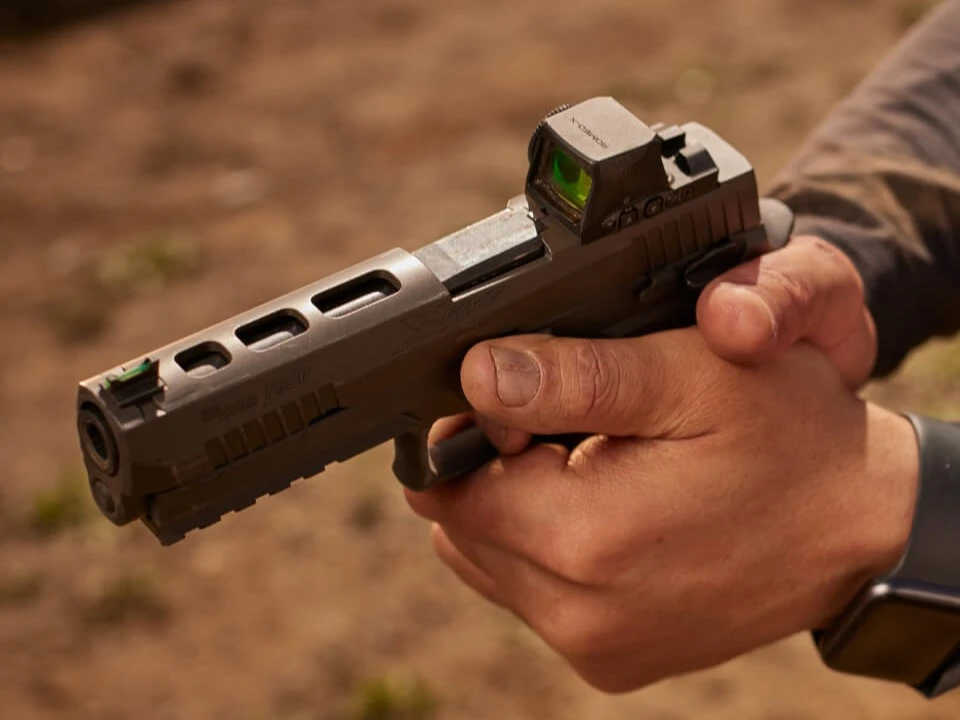
Using a red dot sight on a pistol effectively requires overcoming a few initial challenges but can be mastered with the right techniques and practice. The primary hurdles involve maintaining a threat focus when presenting the firearm and aligning the red dot with their dominant eye.
How to Aim with a Red Dot
To effectively aim with a red dot, follow this simple technique. Begin by driving the firearm to your eyes while looking exactly where you wish to hit the target. If the red dot isn’t visible during this initial presentation, adjust your head instead of moving the pistol. Keep the firearm stable and make subtle head movements until the red dot comes into view and aligns with the target. This practice helps in identifying whether the misalignment issue lies with how the pistol aligns with the eye rather than with the RDS itself.
Just like natural hand-eye coordination lets us throw a ball accurately without thinking too much, aligning a firearm can also become instinctive. This can help you aim correctly, even if your sight isn’t perfectly aligned at first.
Shooting with a Red Dot vs. Iron Sights
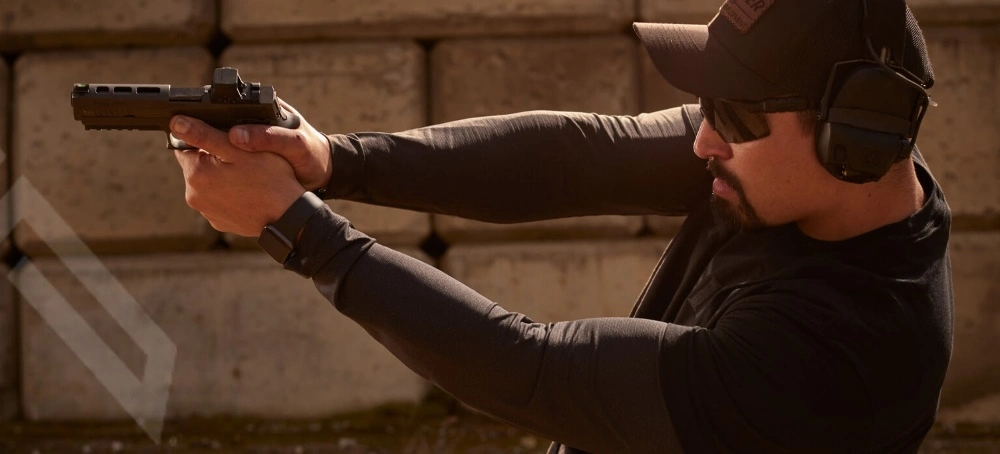
Experience with iron sights doesn’t directly translate to proficiency with red dot sight due to the fact that they require different methods for target acquisition and aiming. However, in most cases, if pistol shooting fundamentals are solid – stance, grip, trigger control, etc. – learning to shoot with a red dot is faster than with iron sights.
For instance, one common issue experienced with red dots vs iron sights is the perception of the optical dot which appears to be continuously in motion due to natural hand movements. In iron sights, the movement is minimized but also present. In reality, this dot movement appears worse than it is. Again, if your shooting basics are right, the accuracy won’t be affected.
One more issue with RDS is how the dot disappears from the reticle window under recoil. But again, it’s no different than losing focus on the front sight with iron sights. The recovery of the dot for subsequent shots relies heavily on eye/hand coordination. The eyes send visual information about the target—such as size and shape—to the brain, which processes this spatial data to decide the best action needed for adjustments. The brain then signals the muscles to move accordingly so the firearm returns to its initial position.
Actually, focusing on the target helps maintain spatial awareness and improves hand/eye coordination, as it avoids the need to shift focus between the front sight and the target. Once you grasp this coordination in relation to the reticle and target, aligning the optic to the point of aim becomes a natural and intuitive action.
What to Do if Your Red Dot Fails
Well, even the most advanced red dot sights aren’t immune to failures. Common issues are battery expiration, lens damage from impact, and debris on the lens.
One reliable backup method is transition to iron sights, but what should you do if the front sight isn’t visible? There are two corrective options:
The first one is “pitting.” It’s effective up to 10 yards and involves using the optic’s housing. Pitting requires the shooter to aim the entire sight center mass with the optic’s top aligned with the adversary’s armpits.
For more precise aiming beyond 10 yards, practice using the “tipping” method. It involves slightly canting the weapon and utilizing a housing corner as a makeshift sight. The tip is where the curved portion of the housing meets the straight sidewall of the sight.
Conduct regular optic failure drills to ensure readiness when relying on iron sights isn’t an option.
At GRITR Range, there’s always something exciting happening! We offer comprehensive firearms training classes designed to enhance your proficiency with guns and gear. Plus, we host unique events and seminars where you can gain insights from industry experts. Dive into our classes and keep an eye out for upcoming events.
Cowitnessing: How to Use Pistol Sights & Red Dot
Cowitnessing means that both your iron sights and red dot work together, allowing seamless transitions between the two. In other words, co-witness sights can be witnessed through the optic simultaneously with its aiming point.
In real-life defense situations, having both iron sights and red dot optics in place is a huge advantage. Not only iron sights provide a reliable backup to your red dot, but also work better in certain situations. For example, while red dots are typically more effective for longer distances and low-light conditions, iron sights are more intuitive to use for close-up shots and in daylight. Plus, If your red dot’s zero shifts, the iron sights will help keep it in check. The only disadvantage of having both types of sights on your pistol is a busy sight picture, but the benefits definitely outweigh this minor drawback.
There are primarily two types of co-witness setups: lower third and absolute (or true) co-witness. With a lower third co-witness, the iron sights appear in the lower ⅓ section of the red dot’s window, preserving an unencumbered view while still ensuring backup. Absolute co-witness means the line of sight for both sighting systems is the same.
Remember, in a cowitness system, the iron sights and the red dot should be used independently. This means that when shooting, you should choose either the iron sights or the red dot—not attempt to use them simultaneously, except when checking alignment at the start of the day.
How to Zero a Red Dot on a Pistol: Choosing the Right Distance for Defense
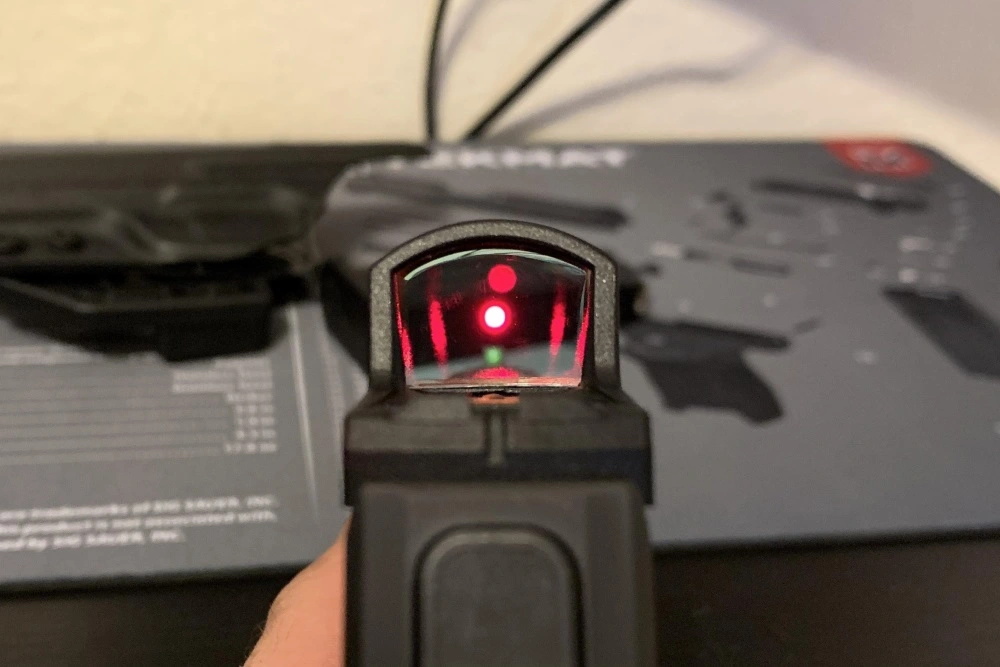
Sighting in becomes simpler when you use a co-witness setup. Once your iron sights are accurately zeroed, adjust your red dot to achieve a lower-third or the absolute co-witness sight picture.
We recommend zeroing your red dot sight at 10 yards. This distance is practical because it’s the range where many defensive encounters occur. This setting provides room for expansion too, allowing you to hit targets at longer ranges. For example, with a 10-yard zero, you can achieve center mass hits up to about 75 yards. Zeroing at 10 yards is also advisable because of the inherent accuracy of pistols.
How to Choose a Red Dot Sight for Your Pistol
Reticle: You might opt for a simple dot or a more complex setup like a circle dot. For instance, some Holosun 500 models offer the flexibility to switch between a dot, a circle, or a combination, which can be particularly useful if you require versatility for different applications and distances.
Dot color: Red reticles are typically more visible in low-light conditions, while green reticles perform better in bright light. Yellow is a balanced option that can stand out in both environments without being overwhelming.
Durability: Look for a red dot sight with robust housing that can take a lot of bumping—aluminum or titanium are popular choices. Also, think about whether you prefer an open or enclosed emitter design, which can influence the sight’s durability and ease of maintenance.
Brightness adjustment: Some red dot sights offer automatic brightness adjustments, ensuring the reticle’s visibility remains consistent across varying lighting conditions. However, in some models, brightness auto adjustment may take some time when transitioning the pistol from indoors to outdoors. For this reason, some shooters rely on manual adjustments. They give you more control but require more time to tailor.
Dot size: The two common options for LEOs are 3.25 MOA and 6.5 MOA. An average front iron sight width ranges from .125” to .140”. Comparatively, a 3.25 MOA dot appears smaller on the target at .0362”, providing greater precision as you shoot at longer distances. However, because it’s smaller, it may seem to move more within the optic window. On the other hand, a 6.5 MOA dot, at .0724”, closely matches the size of traditional iron sights. While it might cover more of the target as distance increases, its relative size in the optic window helps stabilize the perceived movement.
As shooters become more proficient with their pistol RDSs, many of them gravitate toward a smaller dot size to enhance accuracy and maintain a clearer view of the target.


3 Responses
Do you alighn the red dot with sight at the end of the barrel? If not where?thx Denny. Helping my wife..
Hey Denny. When using a red dot, you generally ignore the iron sights, and the same goes the other way around. Those are two independent sighting systems. Iron sights come in handy if your red dot fails or if you need to check your zero.
It might be a better idea for your wife to take shooting courses to get a hang of using a red dot
Ok thx. So I should be able to place the red dot in the middle of the sight screen.? It is supposed to have been sighted in. Thx