In this post, we’re going to discuss pistol drills that will help you increase accuracy and shooting speed as well as deal with flinching. Read on!
Dry Fire Pistol Drills
Experienced marksmen agree that dry fire exercises are among the most valuable gun training techniques. They are cost-effective—requiring no range fees or ammunition—and enable shooters to refine their skills without distractions from noise and recoil. The following pistol drills can be safely performed at home or the range, making them an excellent warm-up before live fire practice.
Hammer/Striker Downs
Pistol Drill Objective: Train your grip stability to effectively actuate the trigger without changing your grip or causing misalignment
To master this pistol drill, your grip should stay solid and consistent as you press and release the trigger. This drill helps you focus on that important element, which you may notice during any snapping in (essentially “firing” an aimed shot during dry practice).
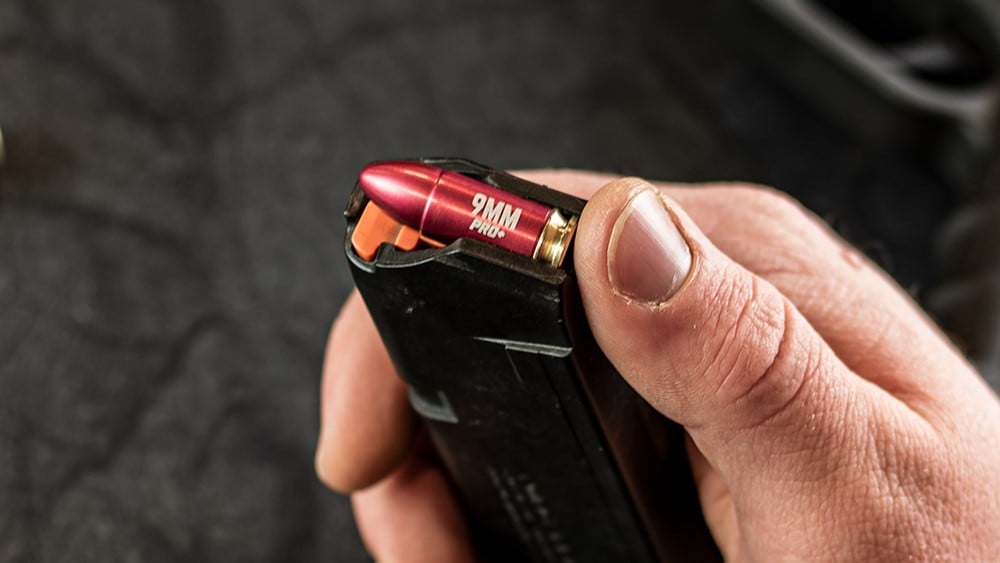
Start by clearing the pistol and ensure the hammer or striker is down and forward. For double-action pistols like the Beretta 92/M9, also keep the safety/decocker lever down.
Get into your grip and, while aiming at a blank surface, gently stroke the trigger back and forth while keeping your sight aligned. Your index finger should only work against the trigger’s return spring, creating a long but light trigger press that maintains the same pressure during both pressing and resetting.
Aim for five smooth press-and-releases in a row without any misalignment.
Full Snaps
Pistol Drill Objective: Improve your ability to reset, prep, and press the trigger for multiple rounds.
Start by clearing your pistol, then thumb cock the hammer or set the striker. Ease the slide back about a quarter inch and keep the trigger fully pressed down as you release the slide. Regain your grip and stance, aiming at a blank wall while still holding the trigger back. Imagine you’ve just fired a shot and are reacquiring your target post-recoil.
To take your next shot, reset the trigger by releasing it until you hear a click, then prep it by taking out the slack until you feel the “wall” or sear resistance. From there, press smoothly until the hammer or striker falls, follow through, and then release the trigger in preparation for the next shot.
During this sequence, focus on maintaining solid sight alignment—aim for perfect alignment each time. Follow this routine for every shot during both sustained and rapid fire. Any misalignment you notice in dry practice will likely show up in live shooting, so try to achieve five perfect repetitions in a row.
Eyes Off
Pistol Drill Objective: Develop a consistent presentation without relying on visual confirmation.
The main goal of any presentation is to move your firearm from a ready state to an aimed-on-target with minimal delay. Starting from an instant or contact-ready position helps develop consistency. Then, practice moving only your hands and arms while keeping everything else still. As you improve your dry presentations, whether from a ready position or holster, try the Eyes Off pistol shooting drill.
Begin aimed at a blank wall. Keeping your head fixed, return the pistol to a ready position, then close your eyes and present the pistol into your standing shooting stance. Once your hands stop and the trigger feels prepped for a shot, open your eyes. Ideally, you should see perfectly aligned sights with your aiming eye. If not, repeat the drill several times with your eyes open, paying attention to how your hands and grip come together, while maintaining that fixed head position. After a few attempts, try it again with your eyes closed.
Without a stock to index against your face like you would with a long gun, it’s easy to inadvertently shift your head and eye position. Focus on pushing the pistol straight out while keeping your head steady in the same spot where aligned sights will appear.
Live Fire Pistol Drills
While dry practice has its advantages, nothing beats the experience of live fire pistol training. Sure, practicing without noise and recoil can be beneficial, but handling those elements is essential for improving your shooting skills. After all, the thrill of firing a gun comes from the sound and feel that accompany each shot—it’s part of what makes shooting enjoyable!
Skip Loading
Pistol Drill Objective: Overcome flinching and develop consistent trigger control.
Flinching refers to any unwanted movement that occurs while shooting, causing the firearm to misalign away from the target. While often referred to as “trigger jerk,” this can involve more than just the index finger’s interaction with the trigger. Essentially, this encompasses any unintended body movement that disrupts your shot.
To identify this flinch, the Ball and Dummy drill can be useful. This is where a dummy round is randomly inserted into the magazine. However, this drill only detects a flinching error; it doesn’t correct it.
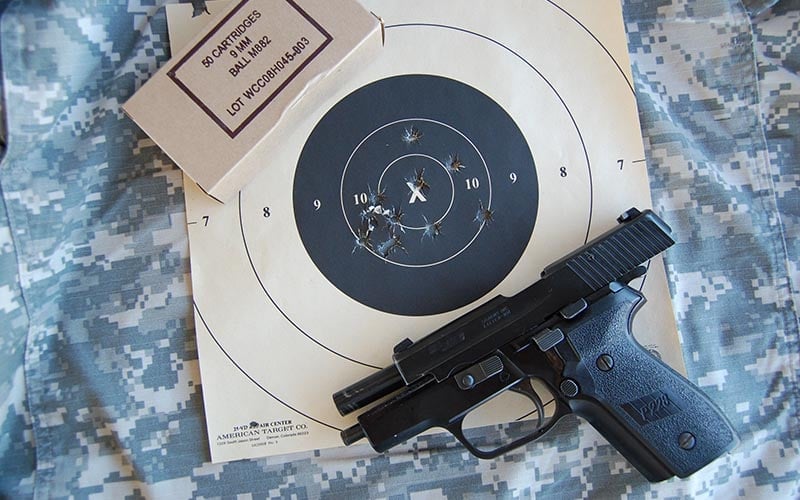
It’s crucial to not just shoot more ammunition without a plan, as this often reinforces flinching rather than correcting it. The goal is to reprogram your subconscious response to recoil and noise from firing. Skip Loading is an ideal handgun drill to counter this.
To perform this technique, prepare three magazines with a 4:1 ratio of dummy rounds to live rounds. Charge the mags in sequence: place the first cartridge (dummy or live) in magazine one, the second in magazine two, and so on until the mags are charged. Then, shuffle the mags and slip them into your ammo pouch or pocket. Grab one at random.
Shoot a slow fire group and, on each click, dry fire three additional times before cycling the action. If you’re training with a full-size pistol like Glock 17 (17-round capacity) or Sig P320 (15-round capacity), this results in 42-48 “shots” for 3 live rounds fired in one mag.
Continue doing this, and over time, the correct habit will be ingrained. Each time you click on a dummy round, note your response to condition yourself not to anticipate recoil or noise.
Sustained Fire
Pistol Drill Objective: Control the pistol under moderate time pressure.
Once you’ve mastered slow fire without flinching and can consistently shoot 3-inch groups at 10 yards from a standing, unsupported, two-handed stance, it’s time to focus on sustained fire. Sustained fire challenges your fundamentals within a shorter time frame.
Begin aimed at the target and shoot 5 rounds for time, proving you can still control the pistol under generous time pressure. Start slowly, aiming for about 4 seconds per shot, which you can measure using a shot timer or by setting a 20-second limit for your five shots.
A helpful technique is to chant a short phrase, like “Smoothly press the trigger and just let the GUN do it,” firing on or before the word “gun” to maintain that four-second pace.
Once 5 shots in 20 seconds becomes manageable, gradually reduce the time limit—try 3-second splits (5 rounds in 15 seconds) while chanting “Smoothly press and just let the GUN do it.” Continue this progression down to 2-second splits (5 rounds in 10 seconds) with “Let the GUN do it.”
These exercises can use dummy rounds, particularly effective during slow to moderate fire since you won’t need quick recoil recovery. However, remember that as you speed up, you’ll need to account for recoil and return the firearm to the target quickly. This controlled reaction is called post-ignition push.
At slower paces, like two seconds per shot or slower, post-ignition push may not be necessary, allowing the firearm to return naturally. However, faster rates will require this controlled timing. If you’re unsure, checking your target can provide clarity—good groupings will remain circular with only slight expansion, even at high speeds. Any dip in the muzzle upon hitting a dummy round indicates a flinch needing correction.
Now Drill
Pistol Drill Objective: Develop the ability to shoot quickly and accurately.
Learning to shoot quickly involves pressing the trigger without losing sight alignment in a fast-paced environment. The Skip Loading drill focuses on maintaining this alignment during slow fire, while sustained fire helps increase your speed. When practicing individual drills, aim to shoot as soon as your sights are on target; however, this rush can lead to a pre-ignition push. To combat this, practice the Now Drill.
You’ll need either a shot timer with a delayed start or a friend with a whistle and stopwatch. Begin by aiming at the same target where you’ve already achieved 3-inch groups at 10 yards—declare yourself ready, then wait for an unanticipated signal to fire as quickly as possible while maintaining that group size.
Your primary focus should be on keeping the groups tight rather than tracking your elapsed time initially.
Once comfortable, start working on reducing your shot times. If using a shot timer, set a par time that’s slightly quicker than your current average. Aim to get your shot on target before the beep; a par time of 0.50 seconds is an attainable goal, and you might even improve further. Remember, human reaction time is about a quarter of a second, leaving you around 0.30 seconds to press the trigger smoothly without disturbing your aim on an already aligned shot.
This drill works well with Skip Loading since there’s no need to recover from recoil – fire the shot and let the gun recoil or click. As time limits shorten, there’s a tendency to muscle the gun. This drill helps prevent that by using dummy rounds to distinguish between a flinch and a post-ignition push from recoil recovery.
Presentation
Pistol Drill Objective: Improve the speed and accuracy of presenting the pistol from a ready position.
This pistol shooting drill is about firing single shots from a ready position.
Start by aiming at your 10-yard target, then relax your grip and pull the pistol back to a ready position, ensuring that only your arms move while your body and head remain put. You’ll notice that the front sight appears just below the center of the target, with the rear sight positioned lower.
Push the front sight towards the target, allowing the rear sight to align properly, maintaining solid grip pressure as you extend your arms to your standard shooting position. Your goal is to shoot one round in under 2 seconds while keeping all shots within a 3-inch group.
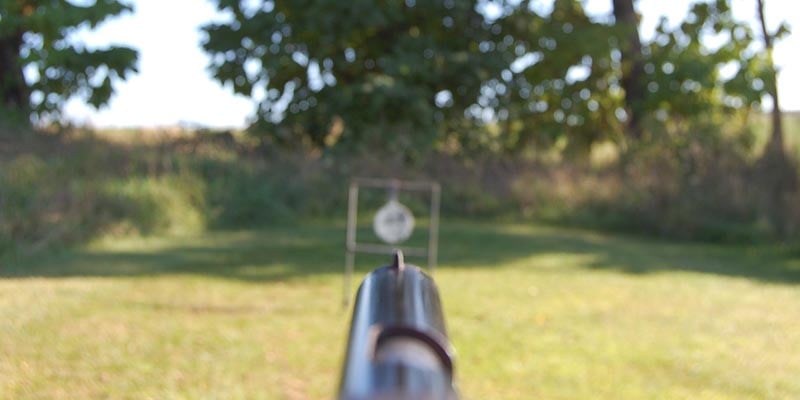
Ready position. Focus on the target just as the pistol enters the bottom of your peripheral vision in your ready position.
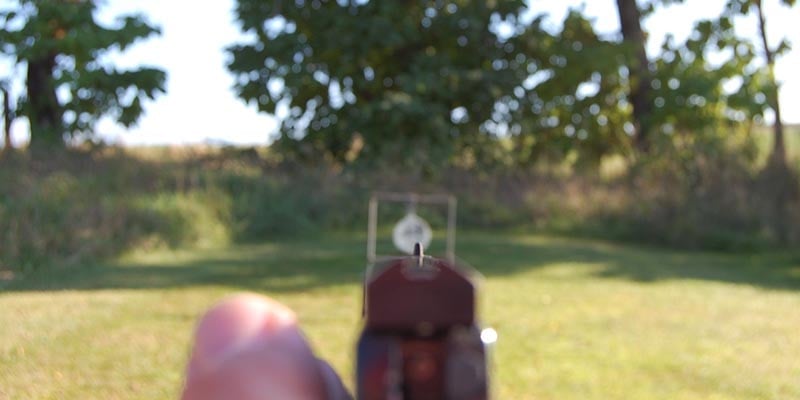
Pistol being pushed from ready to the shooting position. The grip acquires full pressure as the sights trace onto the target and the trigger is prepped. It is possible to shoot from here.
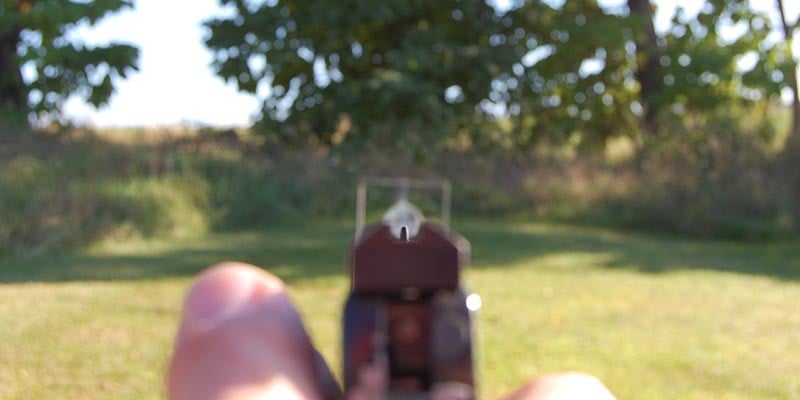
Full extension, front sight focus, and ready to shoot.
We intentionally use a smaller target to promote accurate movement, helping you develop both smoothness and speed. The training progresses from slow grouping on this small target to achieving sustained fire, where you fire one shot every 2 seconds. With consistent practice, you should aim to present and shoot at the same target within the same time limit.
Once you’re regularly hitting 3-inch groups at 10 yards from the ready position, it’s time to increase the pace. A classic exercise in practical shooting involves hitting an 8-inch target from a high or instant-ready position in around half a second, including your reaction time.
You can use a B-6 target (with a bullseye that’s eight inches in diameter) or a silhouette, but focus on scoring within the center area only. U.S. Army standards for “fast” tables require hitting a silhouette within two seconds; thus, hitting an eight-inch target in under 0.65 seconds is an impressive improvement.
For larger or closer targets, you can trigger the shot during the presentation while the pistol is still moving towards the target. To practice, shoot a few rounds as the gun transitions from Instant Ready after achieving accurate, quick singles in the previous drill on an 8-inch target at ten yards. Then, using a larger target, switch back to a two-second par time. Start by presenting and firing two shots, aiming to take the second shot before the pistol fully extends. Once you achieve consistent hits, try increasing to three shots before full extension.
While these handgun drills might seem boring and not particularly flashy, they work. Musicians call it woodshedding and the concept is the same. Refinement of fundamentals done on your own on a regular, ongoing basis is the only way to develop true skill.
